Addictive Laser Toy (Not LightSaber)
December 27, 2018 Leave a comment

I fell in love with laser personalization machine 10 years ago when I was working in the agency. Back then, I flew to Taipei to meet up with a Taiwanese vendor, Mr Chen whom I found in Alibaba (and we become close friends ever since). Mr Chen and I pioneered the first laser engraving machine that can be engraved directly on paper (through the thin packaging’s polywrap without burning the plastic wrap). What’s even more amazing was our machine took seconds to finish the engraving while other took over quarter of an hour. Our machine and software was indeed superior back then and Mr Chen traveled around the globe selling the machine. The machine wasn’t cheap then, one machine cost over USD32,000.
After a decade of experiencing different laser personalization machines (fiber, CO2 or UV) on different materials (glass, metal, paper, wood, leather, plastic), nothing surprises me anymore. In fact, I often tell my friends not to buy those cheap (anything that is under USD500) laser-engraving machines that were marketed on Kickstarter, Facebook Ads or Instagram Ads. Many of those videos were speed up to create the illusion of speedy engraving. In reality, these affordable (low-powered) laser heads work but it takes numerous minutes (not seconds) to engrave.
Being a geek and shopaholic, I was intrigued by a Taobao ad displaying a small USB-powered laser personalization machine (Brand NEJE DK-8-KZ极速微型激光雕刻机刻章机). The entire unit is only 16cm x 15cm x 20cm and weighs about 1KG! I watched the video (which was speed-up at least 20X), read the positive reviews and was impressed by the finished products. What attracted me was the price. It is selling at only RMB500! That’s about USD72! Without any hesitation, I bought it on Taobao and it arrived at my place 2 days later.

Impulse Mistake Number 1 (Warning for Mac User) – this machine requires a PC to operate. To get this going, I have to spend extra HKD1,500 to install Parallel software and Windows OS on my iMac. The software UI is not as pretty as those offered by more established technology companies but it was quite easy for me to figure out (as it was similar to the other marking software I used). Connecting is simple. Just connect the USB power cable and data cable to any USB slots in the computer and the machine connects instantly to the software.
Using the machine is simple. Most laser engraving machines use the same process:
1) Import the Graphic (BMP) or Text
2) Select the engraving time/power (the longer, the slower and deeper the burn)
3) Pre-Marking Alignment – see the area where the graphic will be engraved
4) Adjust the effective laser height – the precise height for the laser to work
5) Start Marking

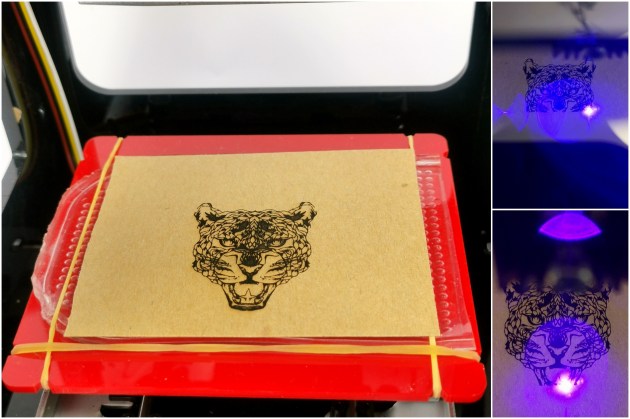
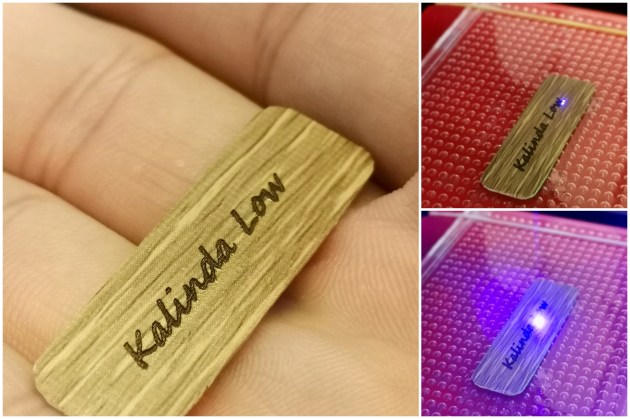
I tested a couple of graphics (which came with the software) on paper and unwanted wooden items I can find at home. The machine was very very slow but it worked perfectly! The “marking resolution” was better than what I have expected from a USD72-machine. A small 30mm x 10mm graphic took over 15 minutes to engrave. For those who never experience the commercial machine, this speed may be acceptable. In comparison, Mr Chen’s commercial machine takes less than 12 seconds to complete the same task.
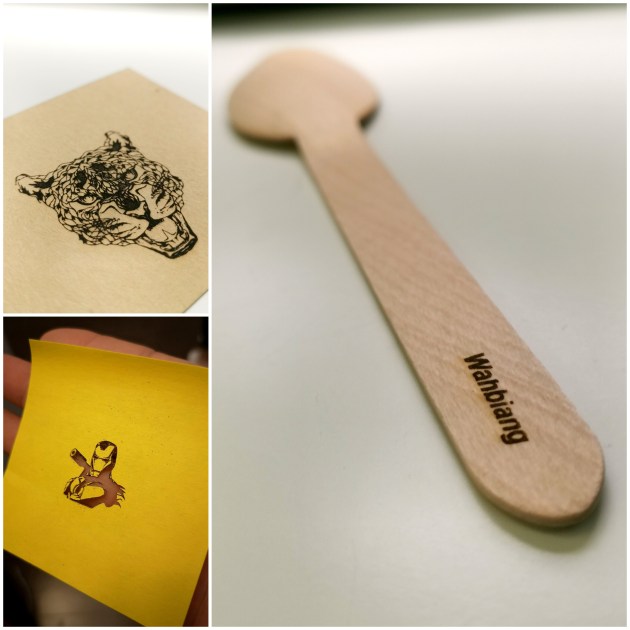
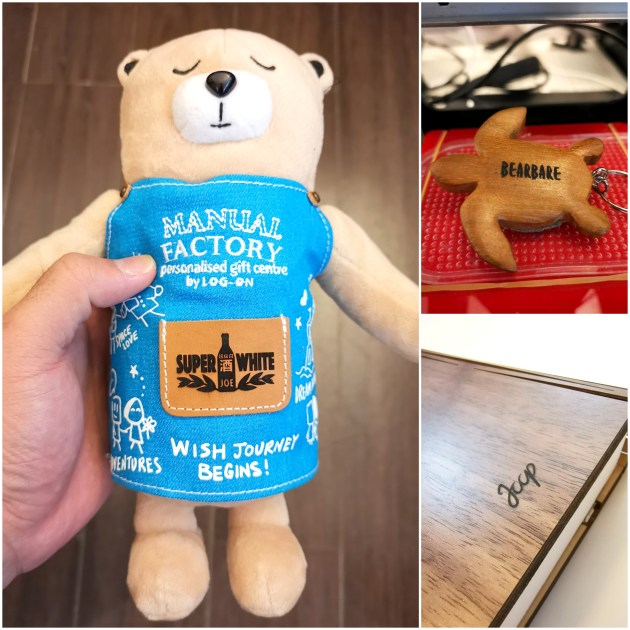
After a week of trials and experimenting, NEJE is quite a reliable hobbyists’ tool. It is quite an addictive toy (to watch and use) and I had fun engraving my own graphics/text on the gifts I was making for my friends. NEJE is a very low-powered Fiber-Laser Machine so it can’t be used on any reflective and transparent materials like acrylic, glass, stone, gemstones, and metals. Due to its small size, its maximum engraving output size is at 38mm x 38mm. This model is perfect for many households small items products like souvenirs and keychains.
Verdict? At USD72, it is a steal and good buy! For someone new to laser engraving machine, there will be some confusion and frustration trying to adjust the marking position and also the effective laser height. Once the user is familiar with the machine’s logic and flow, it is as simple as getting set, on your mark, go.